A(n) [Insert Superlative Here] Grilled Cheese

February 22nd, 2013
The internet is rife with recipes for a “better” grilled cheese sandwich.
They swap the bread for a whole wheat or sourdough. Or they change the cheese to a gruyere or brie. They add things like spinach or apple or drizzle with balsamic reduction. Worse yet, some make completely ridiculous and unfounded claims like adding mayonnaise to the butter prevents your sandwich from burning.
But what none of them seem to do is give a method for creating a proper, diner-style classic grilled cheese sandwich.
“Different” is not “better”, it’s just different.
What they’re making are cheese sandwiches alright, but they don’t teach a technique for actually making a better 3-ingredient (white bread, processed cheese, butter) grilled cheese sandw——Oh hell, why the formality? Sammich.
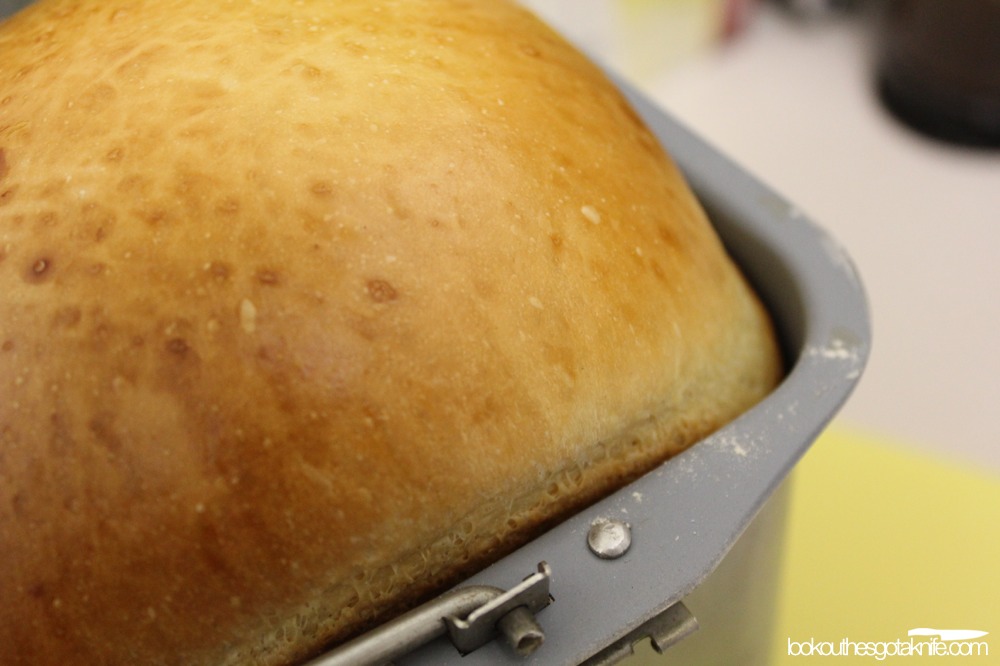
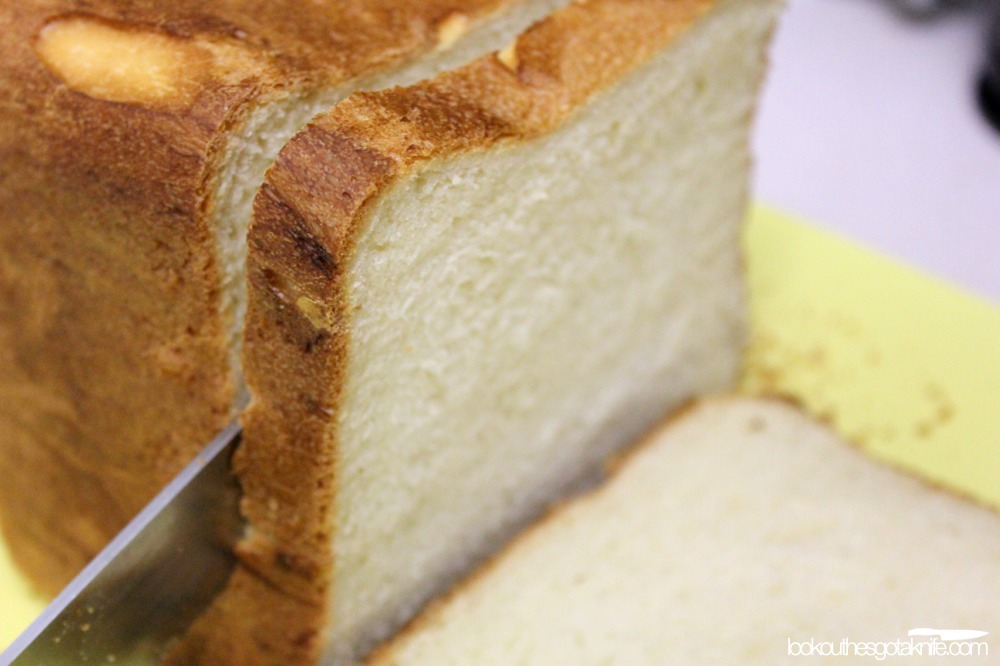
For the sake of this post, I used a home made, bread-machine white loaf. It’s not really different from your standard store-bought white bread, except that it’s fresh and not chock full of preservatives and stabilizers. I also like the consistent square shape, unavailable in white bread unless you buy some brands’ texas toast loaves or similar. I just prefer the homemade stuff, but it’s by no means necessary.
I understand why other recipes recommend different breads though. Supermarket white bread can be flavourless, get hard easily when in long dry heat, and can get soggy when near moist heat. And the latter two make for a narrow window in which a really great grilled cheese sandwich can be made. Just make sure it’s fresh. The fresher the bread, the better your flavour, texture and consistency.
It’s (not) in the name
A grill is a grate over dry heat. What many improperly call a barbecue is really a grill. It doesn’t need to be outdoors, and doesn’t require gas, but it is not what a “grilled cheese” is cooked on.
A better term would be “griddled cheese” or “fried cheese sandwich”. In diners and restaurants, a griddle (or plancha) is used. It’s a flat cast iron or stainless steel slab that sits over a heat source. In the home, a frying pan or skillet works just as well, as long as it has a smooth surface. For this purpose, I prefer a good, smooth-bottomed non-stick frying pan. An open electric griddle also works and many allow you to set the surface temperature.
Why non-stick?
One of the unique advantages of non-stick pans is their ability to repel liquids. It means food won’t stick easily, but it also means that water and oil can move more easily into your food. This is just due to the fact that bare metal or ceramic has a higher relative coefficient of friction than non-stick coatings. In simpler terms, liquids in a non-stick pan will have a tendency to stick to other things in the pan more than the pan itself. Frying in the same amount of oil in a non-stick vs. “sticky” pan means that more of it is likely to end up in your food with the teflon.[1. People believe that less oil is required with non-stick pans. If proper pre-heating of non-non-stick is performed and the right cooking oil is used, you can get away with the same amount of oil in either pan.
Aim for higher heats and use oils with higher smoke points like canola, sunflower, safflower, peanut or if you can afford it, avocado oil is king. Never fry using extra virgin olive oil; save it for dressing, drizzling or oil poaching. A great list of the smoke points of various oils is here.]
Where cooked butter is used as a flavour, we want that butter to stick to the food and not the pan, so smooth non-stick is the way to go.
Note: this means none of those weird textured non-stick pans. They have a rough (on a macro scale) surface, usually with claims that it helps release the food from the pan, or prevents abrasion from utensils. This may be true, but your food is never allowed to make 100% contact with the surface of the pan, and ability to cook food efficiently should be a criteria for buying cookware. Plus, if your non-stick coating requires a pattern on it to allow for better release of food, exactly how good is that coating? Your frying pan is smooth and flat, and you only ever use wood, silicone or plastic utensils with it, right? Good. No worries then.
So what defines a “really great” grilled cheese sandwich?
Of course, there’s a lot of personal interpretation in that question. So let’s narrow it down what defines a grilled cheese sandwich in general.
Melted cheese; it just so happens that processed is best
Frankly, you’re applying heat to a cheese sandwich. Processed cheese tastes kind of lousy and rubbery when it’s cold and develops bad, acrid odours when it’s browned. However, one of the areas in which it excels over most other real cheeses is meltability. The “classic” grilled cheese sandwich has processed cheese for a reason.
Note: This is only one of two times that I will ever recommend processed cheese in a dish; the other is american-style cheeseburgers, and it’s for the same reasons (consistency, mouthfeel and meltability).
Sliced bread with as consistent an interior as possible (i.e.; few holes)
Baguette would make a really awesome grilled cheese, if it weren’t for the cheese melting right out of the sandwich. Grocery store white bread is notorious for never having holes in it (any more; back in the day it was different). It has been processed into a homogenous mass of little tiny bubbles, never big ones. Homemade or a true bakery white will still contain the occasional bubble, but be homogenous enough to contain the vast majority of the cheese when it’s melted.
Browning
Part of what defines a grilled cheese is the browning/caramelization of the bread.
Frankly, mass produced white bread can be lacking in flavour. It’s bland. Any browning or maillard reactions can only serve to benefit.
Butter flavour
Scientifically, un-clarified butter is a pretty inefficient cooking medium. At its best (and you’re extremely lucky to find it), it’s 86% milk fat. At it’s worst, it’s only 80% fat. This means there’s a fair amount of water (whey) in it. That water is counter-productive to the frying process, as it keeps the overall temperature of the butter low until it’s all boiled or evaporated off. Being a saturated fat, butter fat can also lead to a greasy mouthfeel, especially as it starts to cool. Other oils like canola, peanut and even saturated fats like lard and clarified butter make for a better fat to cook a GCS in, technically speaking.
As well, within the additional 20-14% of butter that isn’t fat, reside milk solids. These milk solids contain a lot of flavour, but can also get bitter when over cooked, and have a tendency to burn easily and quickly.
But despite all this, we still use butter. So it must be about the flavour. Higher quality butter will have both more milk fat and better flavour. Use the good stuff if you can find it.
How you can make it “better”.
The ingredients themselves are fine. There are however, things that can be improved.
Textural differences
We humans crave textural differences in our food, and tend to organically pair or make foods with contrasting textures and flavours. Chips and dip, french-fried onions on green bean casserole, or sprinkles on ice cream. We love crisp/crunchy textures paired with soft ones. One thing the “Better Grilled Cheese” recipes often share is a crispy, crunchy bread, but a nice crunch is usually missing from the bog-standard white-bread home grilled cheese.
Maximize flavour
Use every tool in the shed. That means you take every opportunity as a way to enhance or increase flavour. It’s a 3-ingredient dish, but there are still steps that can be taken to get the most out of it, like making sure we get as efficient a browning as possible.
As close to foolproof as you can get
C’mon, no one wants to screw up their lunch, right? You want to make the best dish you can without error, so it’s gotta be easy.
The problems with other methods
Pre-buttered bread
Butter being an emulsion of fat and water means that as it heats up it will start to split. The water (or whey in this case) will start to leak out into whatever is nearby unless it cooks off first. This means that once you place your pre-buttered grilled cheese onto a griddle or frying pan, the butter will heat up and some water will wick its way out into other parts of the sandwich. This slows down cooking time and adds unwanted moisture into the bread.
Straight into the pan
So, the pre-buttered method isn’t optimal. How about tossing the butter straight into the pan first, then the raw bread? This introduces the issue of potentially burning the milk solids in the butter before truly developing the browning of the bread itself. This might be cured by going low and slow, but…
Low and slow
Lower temperature/longer time would be a better technique if you were using clarified butter, but we want to use whole butter for the additional flavour. Unfortunately, low and slow promotes the uptake of moisture and fat into the bread and also means a very long time to brown. The result is a greasy feeling heavy sandwich, sometimes oozing butterfat when bitten into.
Clamshell griddles
You may be tempted to use a double-sided grill to cook both sides at once. This isn’t good either. You need to pre-butter the topside, and once that butter is melted, it tends to soak downwards into the bread. Soggy or greasy bread is the result. Damn gravity. If it didn’t need the butter, a closed clamshell would be good for toasting as long as it didn’t squish the bread.
So with all this in mind, I’ve developed this technique. It creates a more predictable grilled cheese sandwich with lots of butter flavour, browned flavours, crisp crust, melted cheese and an easy two-step method.
Getting Ready
Preheat your non-stick pan. Place it on medium-high heat with no oil or butter in it for five or six minutes. Yes, this is safe. If your non-stick is teflon-based (not ceramic-based), avoid pre-heating any longer than ten minutes. We’re looking for a surface temperature of about 350°F. What? You don’t have an infrared thermometer, which are absolutely indispensable for determining accurate surface temperatures?! Well, you really should get one. They’re super-handy and can be bought inexpensively. It’s not necessary though. If you place your palm on the pan surface, we can use this scale:
1 – Uncomfortable but tolerable.
2 – Okay, this is starting to get hot.
3 – It’s like touching the hood of a car sitting in the sun on a summer’s day.
4 – Yikes, that might blister.
5 – Yep, that’ll definitely blister.
6 – Ssssssssssssssss.
7 – No way I’m putting my hand near that.
8 – You’re kidding, right?
9 – Right?!
10 – Motherfu––
You’re aiming for 6.
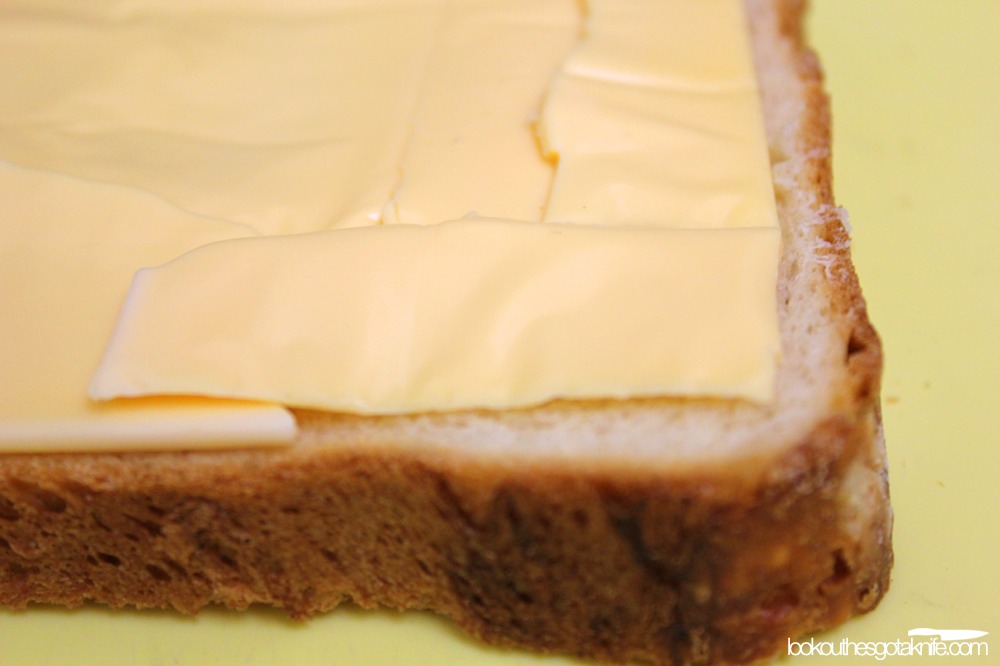
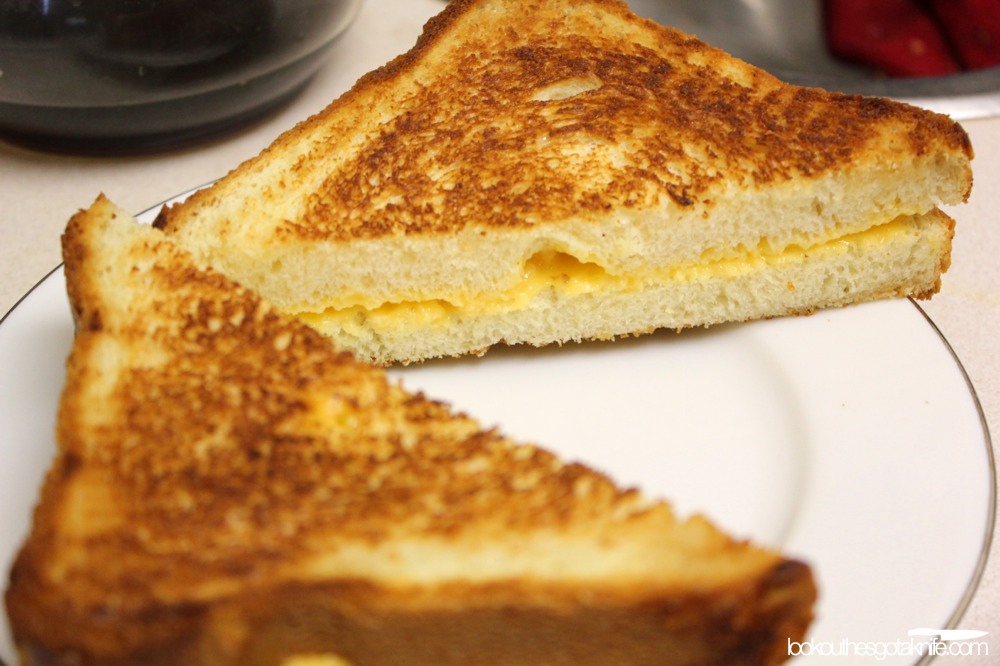
Put your cheese on your bread. Use multiple slices if necessary and try to cover as much of the bread as possible without extending past the border of crust. Cut slices up to fit and play processed cheese Tetris. Try and leave a few millimetres (1/8th inch) from the edge. Avoid too much overlap as this can create uneven melting. If you like lots of cheese, add more slices. Just make sure that the cheese is relatively the same thickness throughout. Top with another slice of bread.
The dry step
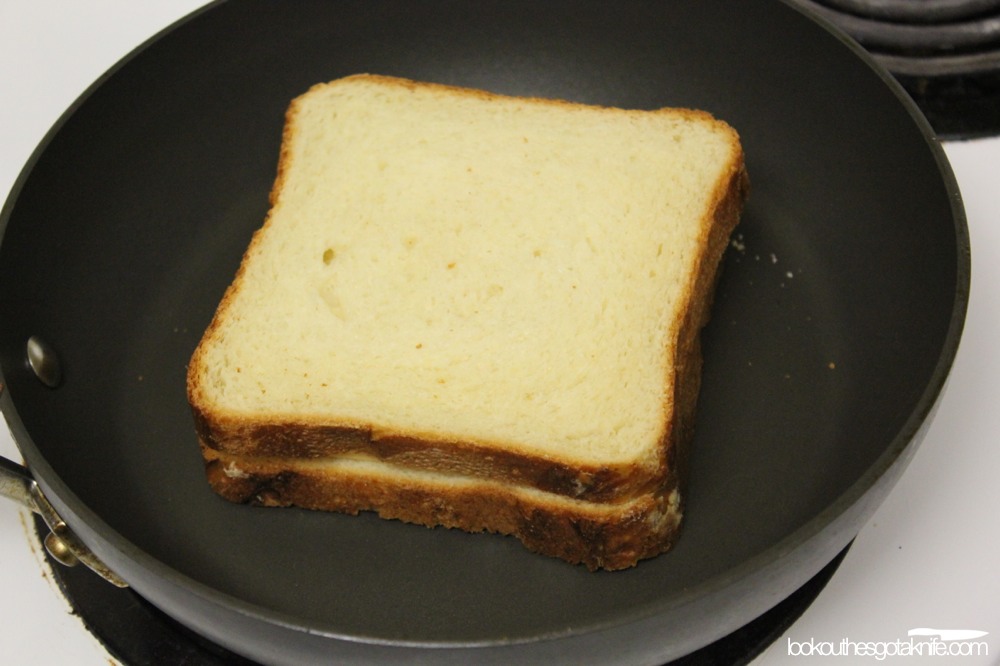
Brush off any crumbs on the bread and place it dry into the pan. Allow the bread to toast to a light brown. Flip the sandwich over and repeat. Set the sandwich aside, wipe off any crumbs.
Why dry?
Well, the dry heat kickstarts the maillard reaction in the bread. The maillard reaction is a chemical reaction between amino acids and sugars that essentially causes them to break down and release additional, complex flavour compounds. It generally takes a higher heat to get maillard reactions going, but they can be continued and maintained at lower temperatures.[2. It’s like “breaking the seal” if you will. That’s why its recommended that you start a roasted turkey in a very hot oven (235°C/450°F) for several minutes before turning the oven down quite low for the remainder of the cook; it kickstarts the process and improves final colour and flavour overall.] This mean we’re going to get easier browning and better flavour the more we can take advantage of it in our sandwich. Straight butter will stay closer to 100°F (212°F) until all the water is cooked off. This is too low a temperature to get those reactions started in the time needed.
The smooth-bottomed pan also acts on the bread like an iron. The weight of the sandwich itself will help create a smoother surface for further cooking and allows more even distribution when the butter comes into play. Pre-toasting in a oven/toaster oven won’t achieve get the same surface-smoothing result, but it does a great job of toasting if y’know, you’re lazy or something.
Pre-toasting also dries out the very surface of the bread. When the butter gets added, its water content will only serve to re-moisturize the drying caused by the heat, rather than adding extra moisture beyond what the bread has when it’s fresh.
The cheese also begins to melt. We want this.
The wet step
Before anything, put the doubly-toasted sandwich to the side and wipe the pan clean of crumbs. These will only burn in the long run, and can act like mini ball-bearings, keeping the bread from full contact with the pan.
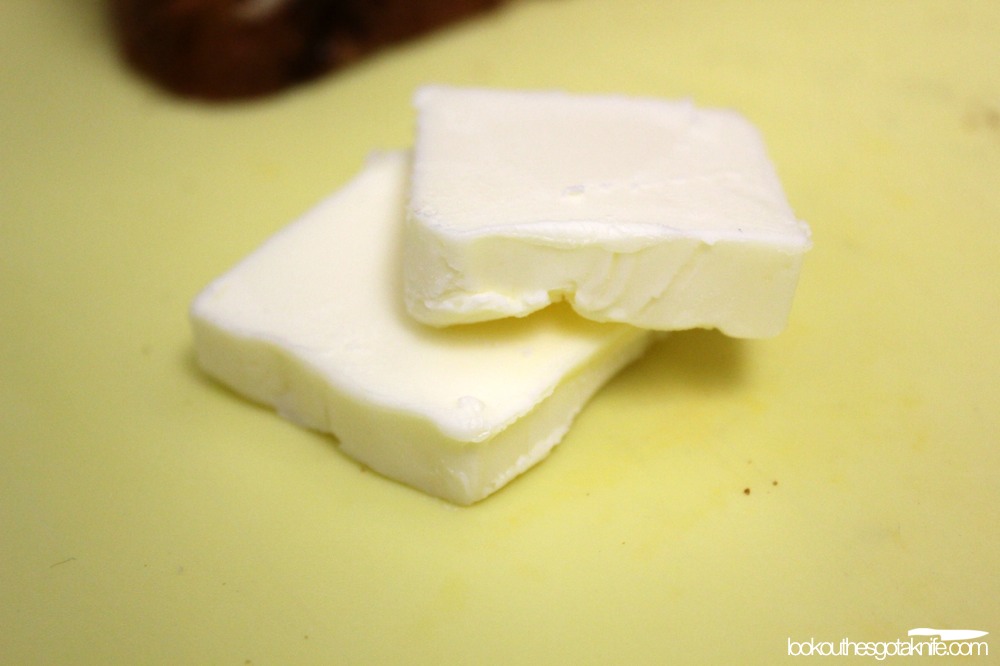
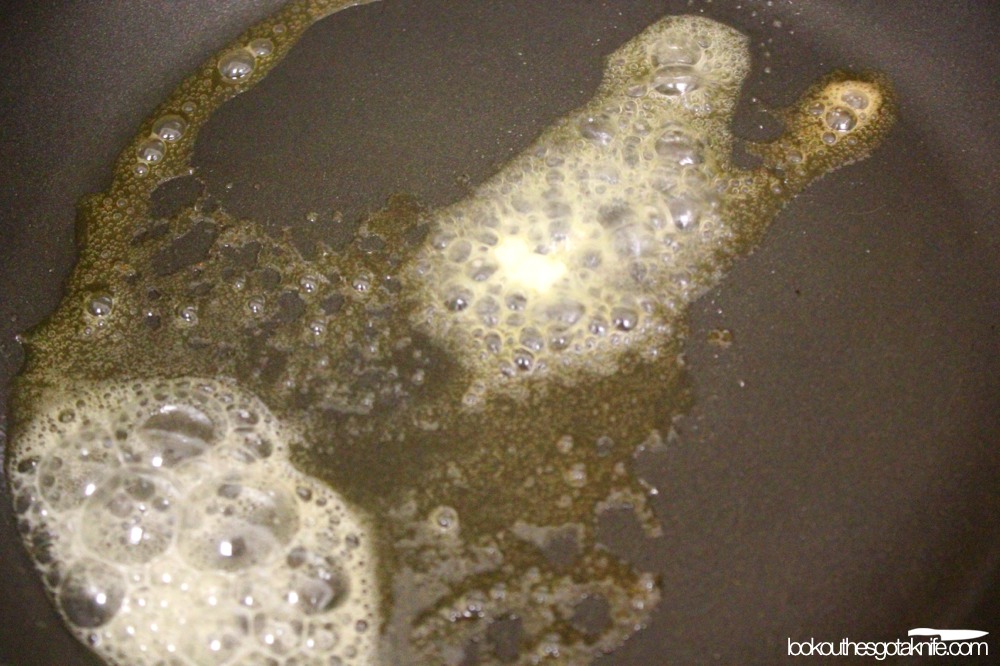
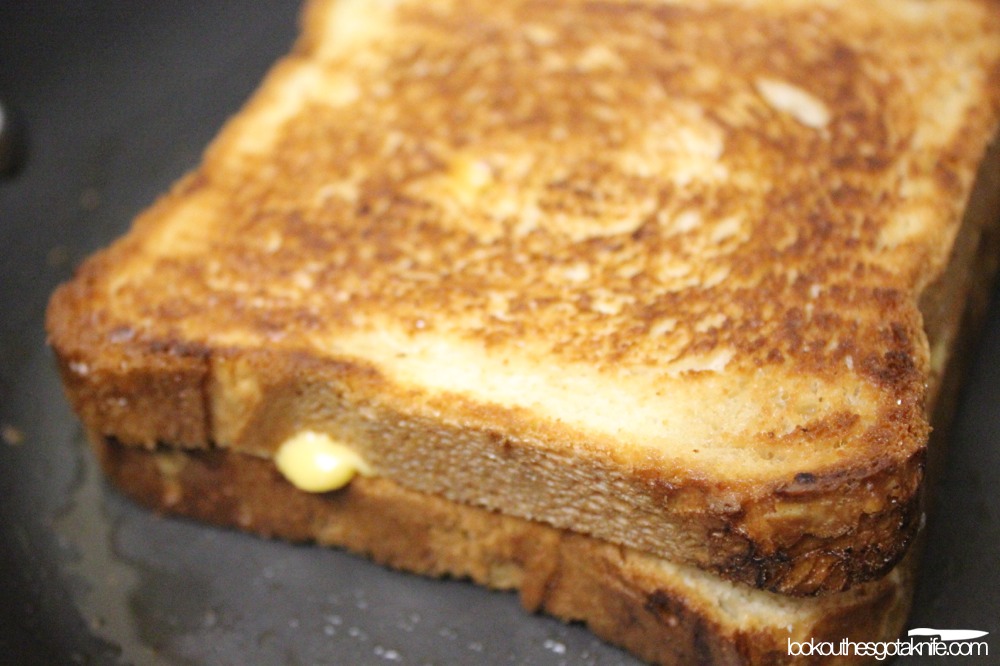
Add your butter to the pan; about 15 mL (1 tbsp) per side is just fine. It shouldn’t melt near-instantly. If it does, turn down the temperature by one number on the element’s dial. The butter will melt and start to foam and sizzle. Once the butter is just about to be completely melted, place your pre-toasted sandwich in the centre of the puddle (or as close as you can get). Using a light finger or other cooking implement, push the bread around in a circular motion to “soak up” the butter as best as possible. If your oven is level, this is almost completely unnecessary. Cook for a half-minute or to the desired browning. It won’t take long though. Repeat with the other side.
Why?
This way, we get some light browning of the butter (but not enough to burn the milk solids), so we get some of those nice caramel flavours. The sizzling of the butter also marks the quick evaporation of water, which we want.
Due to the dry cooking step and how little the bread sits in the butter, it doesn’t travel far into the bread and stays mostly at the surface. This keeps it where its needed for cooking and increases the chance of a crisp, crunchy crust while keeping the rest of the bread soft (but not wet).
The bread is allowed to start to brown before the milk solids do. This means also get to continue the maillard and browning reactions started by the dry pan. This means more overall toasty/brown flavour.
As the cheese is already melted from the dry step, we only need to worry about the browning of the bread during the wet step. This means a simpler, more controllable final product.
Note: Eat it quickly. Crispness is like a high-entropy state in food, meaning it doesn’t last long before the moisture in the atmosphere finds a way to equalize itself. The longer you wait after cooking, the less crisp your sandwich will be. When you can put it into your mouth without scorching the buhjeezus out of your tongue, it’s ready.
That doesn’t mean if you’re making multiple sandwiches that you have to serve them à la minute. You can put the sandwiches onto an open rack (or cooling rack over a baking sheet) in a 60°C (140°F) oven. It’s important to have it over a rack though, as dry heat on all sides will keep the bread from condensing moisture at any one surface.
The problems to avoid
Squishing the sandwich
Some people recommend giving the sandwich a squish to help it cook. This increases the chance of the cheese melting faster, as you’re shortening the distance between the cheese and the heat and reducing some of the insulating power of the bread. Unfortunately, this also removes some of the volume of the sandwich, making it feel less substantial in the mouth, but denser and heavier in the stomach. If you’re going to be eating cheese on fried bread, you’re best not to make it into a complete gut bomb.
Mayo instead of butter
This seems to be a relatively recent idea; that if you replace the butter with mayo you gain additional cooking time and less burning. What they seem to miss is that you get extra moisture. Generally, store-bought mayo is usually a 1:3 (75% fat) water-based-liquid-to-oil ratio and low-fat mayonnaise can come surprisingly close to a 1:1 ratio (50% fat). That means the water content in mayo is higher than that of butter and we already know the surface temperature of the bread won’t achieve good browning temperatures until that water is removed. If that moisture isn’t evaporated quickly enough, it goes into your bread. Not ideal. As well, last I checked, egg solids in oil can burn just as well as milk solids in milk fat.
The truth
Quite honestly, this technique can be applied to any combination of bread or cheese. Why I picked the classic white bread, processed cheese sandwich is that techniques are more important than recipes. Any good recipe can be ruined by poor technique, and poor recipes can be improved with good technique.
Still, take what you will from this long-form, in-depth examination of a humble little sammich. At the very least, I hope it’s taught you that better isn’t just adding more cruft to a recipe.
