Posts Tagged ‘techniques’

The Five, Day 5 – Low and Slow   Permalink

Tuesday, August 14th, 2012

[Day 1 can be found here.]
[Day 2 can be found here.]
[Day 3 can be found here.]
[Day 4 can be found here.]

I really want to write that the best cooking technique one can learn is continually educating yourself about food, but despite its truth, it sounds like a copout. So I can’t do that. But I really, really wanna. Like, so badly.

Fine. I suppose I’ll indulge myself in a less philosophical answer.

One of the things people seem to want to really really believe is that any recipe can be sped up. Our western lifestyle of convenience has made cooking a chore, and something on which as little time as possible should be spent. To me, this is sad beyond words. But I digress.

Unfortunately, that idea is antithetical to the idea of low-temperature cooking. In it’s simplest explanation, it means cooking in the range of 60°c (though sometimes lower) to 100°c.

Modern low-temp cooking generally refers to water bath cooking (erroneously referred to as sous-vide, which merely refers to food being under vacuum). This is where scientific equipment is usually required. Immersion circulators are 1/2 water pump, 1/2 highly accurate heating element. They keep liquids at a very precise temperature. Food, bagged in watertight plastic, gets placed in the bath and “cooked” with the ambient water temperature. This allows for very slow cooking at temperatures just high enough to pasteurize the food.

The bad part is that immersion circulators are prohibitively expensive to the home cook, costing thousands of dollars and being rather complex in use. Or are they? [1. That is rapidly changing, as a kickstarter project has produced a USD$300 (to be USD$359 retail) circulator called the Nomiku that’s built for the home cook. No doubt others will follow.]

Older “slow cooking” methods are things like traditional barbecue smoking, rotisserie over open coals/flame, and cooking underground over hot coals. They all produce juicy, tender results, though generally can’t get as low a temperature as more controlled methods.

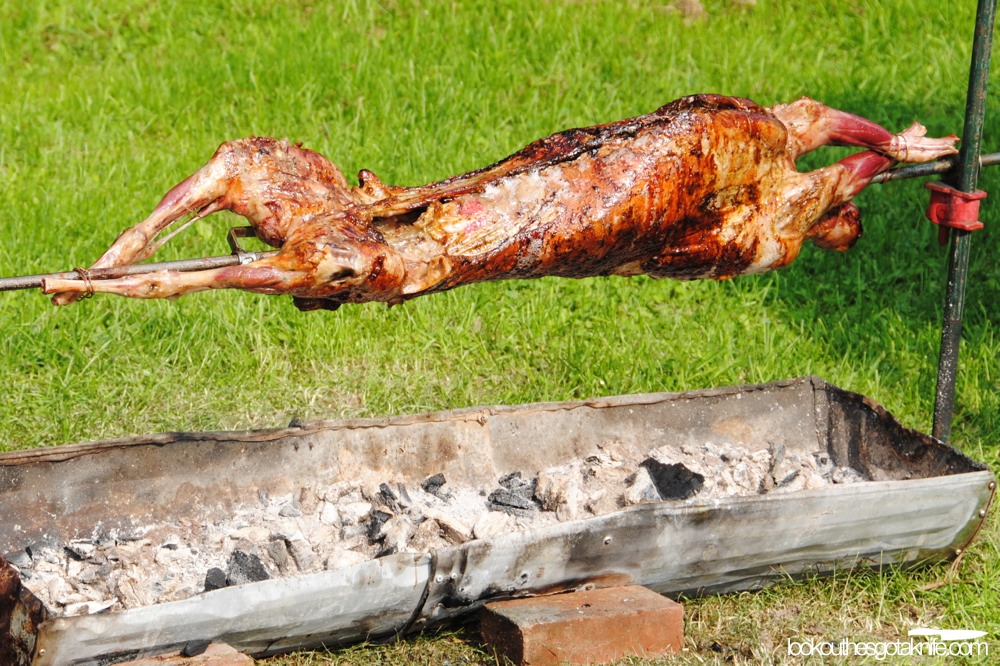
Lamb over a Rotisserie

More available to the home cook however, is just using lower temperature capabilities of their existing equipment. In my experience, people tend to use only one temperature or method to cook with, but quite honestly two or more temperatures or methods can improve the quality of your food.

A Prime Rib Roast is a great example of a food that can greatly benefit from low-temperature cooking. Typically, it’s cooked at a high temperature—usually around 230°C-250°C (~450°F-475°F) for a few minutes—then dropped to a moderate one of say 160°C (~325°F) for the remainder.

The fact of the matter is though, that any temperature above about 60°C (140°F) will both cook your food and kill microbes. It’ll just do so at much slower rate. It will also maintain better texture and flavour in your food.

Rapid changes in temperature cause cells to literally pop like a balloon as their component water heats up and expands or vaporizes (turns to steam). This is most of what causes a big puddle of juices for instance, when you cook a steak. Low temperature cooking can help prevent this, as it will allow some liquid to escape the cells through slower evaporation or expansion, causing less major structural damage to the cells themselves. This means less drying out, and juicier, softer texture.

In addition, proteins with high amounts of connective tissue greatly benefit, as collagen begins to melt at relatively low temperatures, but can sometimes take substantial amount of time. Think of that collagen as a meltable mortar between cell “bricks”. When it’s solid, it gives firmness and structure to meat. As the collagen melts, it acts like a lubricant between the cells, freeing them from one another, and making meat feel more tender, regardless of doneness. This is the same reason why braised meats, which are technically way overcooked, can be some of the most tender pieces of meat.

So how does this all become a technique?

Knowing that lower temperatures cause less damage and produce better results, it can be used to your advantage. Searing meats and proteins at a very high heat, and then moving to a low oven makes for a much better product, regardless of the meat being cooked.

So in the case of that roast, you’re better off searing the whole surface well in a very hot, heavy bottomed pan to start a nice crust, then placing it in a very low 75°C (~166°F) oven for several hours until it is cooked to the desired temperature. For a medium-rare roast, you will end up with less greying of the meat and more overall pink.

On a related side note: Use a probe thermometer with a temperature alarm, and never assume that minutes-per-pound rules actually work. Water content, fat content, ambient humidity and many other factors can affect the cooking time of your food dramatically. If you’re worried about timing your whole meal together, you’re better with par-cooking any side dishes, then finishing them off or reheating them when your meat comes out of the oven to rest for a few minutes.

In addition, because of the proximity to the ribs, Prime Rib contains a large amount of connective tissue, so a low and slow temperature can melt that collagen without overcooking the meat. The great part about for the home cook is that it’s much harder to overcook meat using lower temperatures. There’s a much greater length of time between “cooked to perfection” and “cooked to drywall”.

Even if it does take more time, it’s well worth the results. And because you’re using a low temperature (far lower than those required to set most things on fire), you can breathe easy and while I don’t recommend this (but won’t confirm nor deny whether I’ve done it myself), you could even leave your home while it’s cooking. Many have no problems leaving their home when they’re cooking with a crockpot, and 75°C (~166°F) is a lower temperature than the low setting on most slow cookers.

Or really, if you’re that worried you can use a slow cooker rather than an oven. The “warming” temperature of a slow cooker is generally around 71°C-74°C (159-165°F). Sear that roast off in a hot pan, then place it the slow cooker, raised up from the direct heat of the bottom using a rack, vegetables or other means, all using the “warming” setting. Just make sure you’ve preheated the cooker before hand, as bacterial growth could be promoted if you’ve started it from cold. I’d also accurately measure the temperatures of your cooker before trying this, as many new ones are known for exceeding the common temperatures associated with slow cookers.
The Five, Day 3 – The Right Pan For The Job   Permalink

Thursday, August 9th, 2012

[Day 1 can be found here.]
[Day 2 can be found here.]

Busy day and I’m just under the wire with this one, but here goes…

Pans come in a variety of shapes and sizes. But it’s crucial to know which pan to use for what job. Knowing so can speed up your cooking, or make sure you get the most flavour out of your food. Using the wrong pan can lead to burning or slow cooking times.

Material needs.

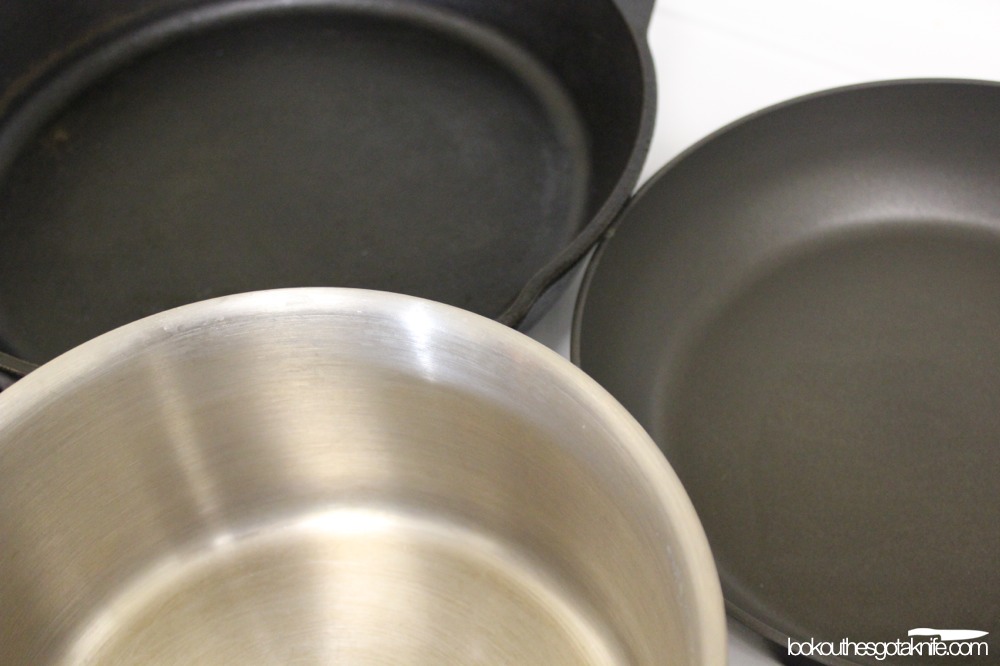
Cast Iron, Stainless Steel and Non-Stick Anodized Aluminum

Clad or layered stainless steel (stainless with an aluminum or copper slug on the bottom, or sandwiched within the steel) is by far the most common material for pots and pans these days. It’s lighter and heats up faster than cast iron, but is heavier and heats up slower than full aluminum or copper. Being in the middle of the pots and pans thermal conductivity scale means it’s like the All Purpose Flour of cookware; it’s satisfactory for most things, but isn’t ideal for everything.

Best usage for stainless steel: No real “best”, but it does an okay job otherwise.

For searing meats, cast iron does a much better job. Being a poor thermal conductor means that cast iron carries a lot of heat “inertia”. Once it’s heated, it has a tendency to stay heated. So putting a cold or room temperature piece of food on its surface means it’s not going to lose much of it’s surface temperature. Cast iron is great for anything you want to build a nice even crust on, which is why it’s one of the preferred methods for searing a steak on the stovetop. It does have the disadvantage of having zones of different temperatures while it’s heating up. Always make sure it’s been preheated for a great deal of time before use.

Best usage for cast iron: Dutch ovens or skillets.

On the flip side, copper and aluminum pots heat up evenly and quickly, so they’re great for liquids. Their high thermal conductivity means there’s little keeping the heat from your burner reaching your food. Both however, should not be used for acidic or alkaline foods, they can make food taste metallic or even create poisonous compounds. Cast iron is also reactive, but of its cookware is seasoned or ceramic coated, make it a moot point.

Aluminum frying pans are a bad idea. While light and easy to manipulate, they often do a piss poor job when it comes to frying. Stainless is better. Aluminum is common in commercial stock pots. The thermal conductivity allows heat to move faster into your food.

Best usage for aluminum: Stock pots or pasta pots; non-reactive foods.

Copper is a little heavier and a better thermal conductor. So it’s better for things like candy making, and is most commonly preferred due to its ability to apply quick, even heat to sugar. The negative is it’s damn expensive.

Best usage for copper: Sauce pots for candy making; non-reactive foods.

Size does matter.

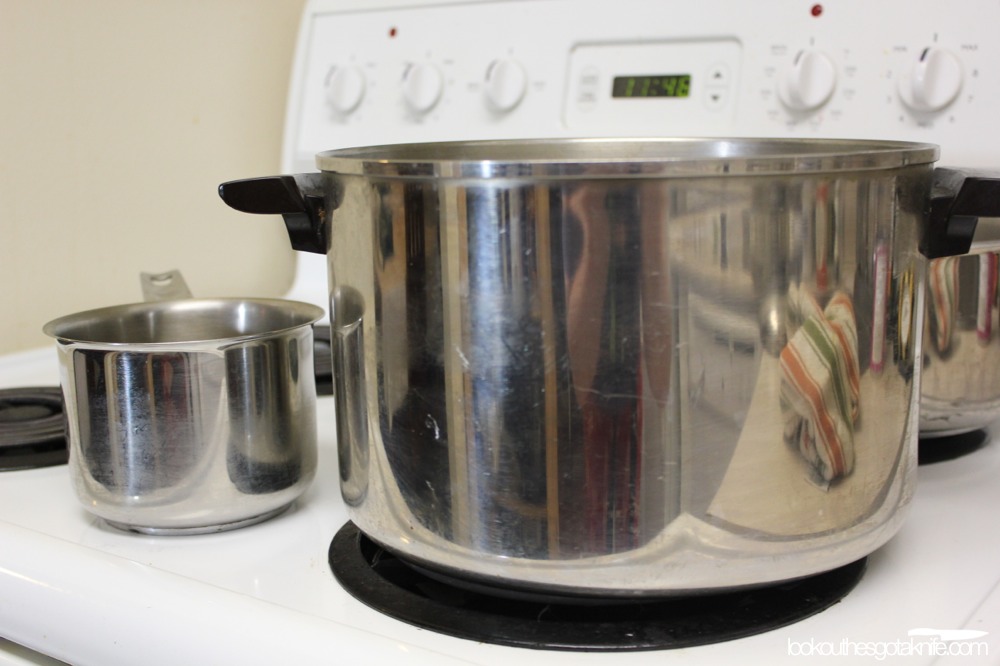
10L vs. 1L

Choosing the size of your cookware makes a world of difference. Frying a single chicken breast in a 30cm (12 in) pan creates some problems. Because there’s so much surface area not being used, that area just ends up heating air (and dry air is a poor thermal conductor). Large pans are meant to be used for large or multiple items. An 20cm (8 in) fry pan will do a much more efficient job.

A surface area much larger than your food also means there’s more room for cooking oil to spread out, meaning less of it comes in contact with your food. It also means high-viscosity liquids have more area to stick to. If you’re melting 2 tablespoons of butter in a 30cm (12 in) pan vs a 10cm (4 in) pot, you’ll actually end up with less butter when you pour it out, unless you scrape it clean with a spatula.

Use surface area to your advantage.

There’s a reason stock and pasta pots are tall and narrow; there’s less surface area for liquid to evaporate from.

In stock pots, it means more liquid—and volatile flavour compounds—remain in your soup stock as the hours of leaching flavour out of bones and meat roll by.

In the case of pasta, you want to lose as little water as possible. As starches move from the pasta into the water, they make the water “sticky” as it evaporates. The more water you cook in and is left at the end of it all, the less your pasta is likely to stick together. That’s why you should always use the largest pot you have filled as high as possible when you make pasta, regardless of how much pasta you’re actually making.

On the opposite end, a high surface area is great for reducing liquids. Using a large, wide frying pan or skillet for any reduced sauces is one of the best choices you can make. You’ll be able to reduce your liquid much faster. And honestly, reducing a stock to a demi-glace in a marmite (the french term for a stock pot) is a mighty pain in the ass.

Non-stink? Right.

Repeat after me: Not every pan has to be non-stick.

That’s right. You really only need one or two non-stick fry pans. And they don’t need to be used for everything either. They do best in situations where you’re cooking a high-protein, low fat food like fish, chicken breast or eggs (I’m talking about the whites here). Sugars will still stick to non-stick.

What many pot companies won’t tell you is that non-stick coatings are really, really bad thermal conductors. When you cook on non-stick, it’s like trying to cook on silicone. In effect, it actually slows down cooking, and makes it harder to reach higher temperatures required for proper browning of food. So really, it should only be used in situations where the risk of sticking far outweighs the risk of the food not browning.

I won’t go into all the tricks cookware companies like to make consumers believe, but non-stick stock pots, dutch ovens or sauce pans are a waste of money. Any place where you want consistent heat or are cooking liquids, non-stick is pointless.

Another idea that many might have trouble believing; using the same amount of oil in non-stick and regular pans of the same size, your food will pick up more oil from the non-stick pan.

Why?

Because all non-stick repels liquids. Bare metal or ceramic coated pans will hold on to some viscous liquids like cooking oils. This can be tested via a side-by-side test where a drop of oil is placed in both styles of pans, then a paper towel is dropped over top. More of the oil will end up in the towel from the non-stick cookware. If it’s going into the paper towel, it’s going into your food.

The Five, Day 1 – Browning Meat.   Permalink

Tuesday, August 7th, 2012

I love Food Republic, but they must be hard up for stories this week, because they put up a story called “Five Crucial Kitchen Techniques and How To Use Them“.

Going through the list, I disagree that—with the exception of shucking oysters— anything they listed can be called a technique.

Five essential techniques I’d say are more important, and seem difficult for many to master?

I’m going to spend the next five days going over five techniques that I feel are far more important to master.

Day 1: Browning meat.

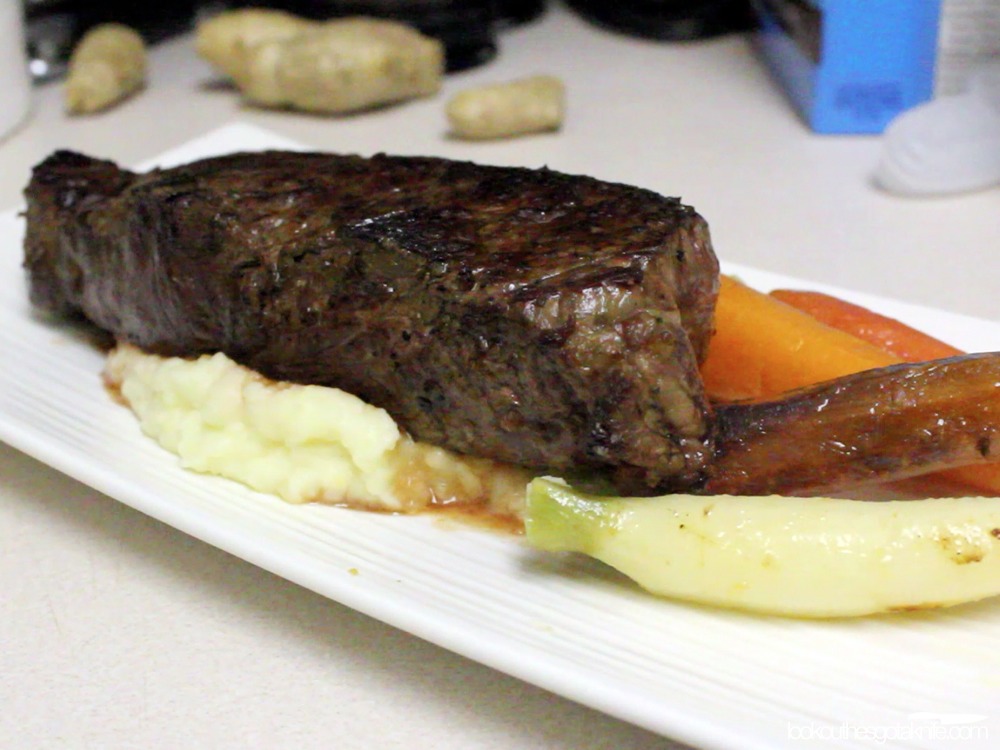
Beauty of a browned steak

Oh sure, everyone knows how to brown meat, right? Actually, in my experience, they don’t. Many seem to confuse “grey” with “brown”, most especially with ground meats.

All animals have a protein called myoglobin in their meat. Myoglobin is the meat analogue to the blood’s haemoglobin, which helps store oxygen in cells. It also gives meat a red colour to varying degrees, based on the animal and the type of muscle that the meat came from. Well used muscles, like leg muscles on a chicken or steer will contain more myoglobin than lesser used muscles like chicken breast or loin. But chickens in general contain less myoglobin than beef, which is why their meat is pink as opposed to red.

This is also what gives meat juices in rare to medium meats a red colour. It’s not blood. I repeat, it’s NOT BLOOD. Sorry, vampires.

Myoglobin changes colour and chemical structure when heated. When it’s heated beyond 60°C (140°F), it’s center iron molecule loses an electron and oxidizes, and in that reaction myoglobin becomes the tan-grey coloured hemichrome. Past 76°C (170°F), there’s very little unoxidized myoglobin left in meat, and this is what gives well-done beef it’s characteristic grey colour.

Unfortunately, this is no where near high enough temperature for browning (maillard and caramelization) reactions to occur. Generally 148°C (300°F) is required for typical maillard reaction browning to even start in meat.

Hence, that “greying” can occur even if you’re boiling meat in a pot of water. When a recipe calls for meat to be browned, it generally involves high heat, a pan quite a bit larger than your meat, and patience.

The large pan/small meat ratio should be at least 2:1. Meaning the surface area of the pan should be at minimum twice the size of the surface area of the meat that will be touching it. High heats will cause moisture to bleed out of your meat. Too much meat in a pan means there’s nowhere for any liquid lost to go and it remains trapped with your food. Essentially, you end up boiling your meat, as the trapped liquid will keep your maximum temperature in your pan around the 100°C (212°F) mark.

The higher heat helps keep internal moisture and promote browning before drying out the inside of the meat, as well as quickly evaporating off any liquid that may leak out.

If you’re cooking ground meats, you may need to use a larger pan-to-meat ratio of 3:1, as there’s significant cell damage and surface area to cause a great amount of liquid loss. Brown in batches, and recombine all cooked batches together near the end. Trust me, next time you make those ground beef tacos, your taste buds will thank you.